# Getting Started with Moonship
This guide will help you get started with Moonship. It will walk you through the initial setup process, and then show you how to create a simple application.
# Connecting your AWS account with Moonship
After you've signed up and verified your email (if applicable), you'll be taken to the Moonship dashboard. For first time users, you will see a screen that asks you to connect your AWS account with Moonship. This allows Moonship to create and manage your AWS resources for your application.
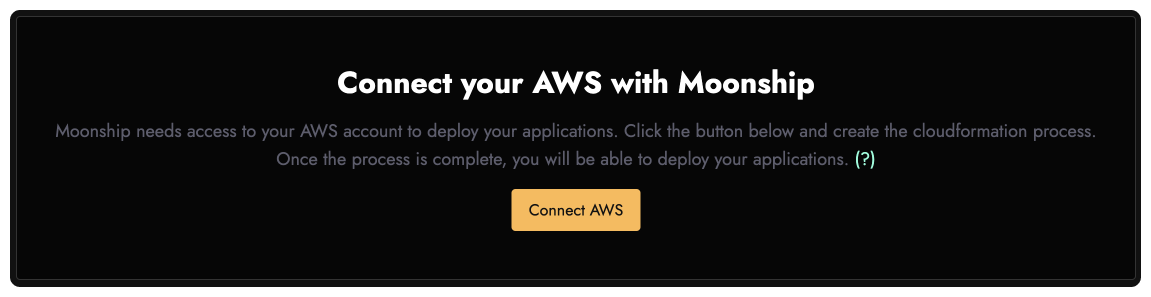
On clicking the Connect AWS button, you will be redirected to the AWS console. You will be asked to allow the creation of a new CloudFormation stack. This stack will be used to connect Moonship to your AWS account. Once you've allowed the creation of the stack, you can come back to the tab with Moonship. Moonship will automatically detect that you've connected your AWS account. This step usually takes about 2 minutes and you will be redirected to the dashboard once it's done.
# Creating an Application
On clicking the "Create Application" button, you will be taken to the application creation screen. Here, you will be asked to provide a description for your application. The name is uniquely auto-assigned.
Next, you will need to connect your Github account and provide Moonship with access to the repository that contains your application. This is required so that Moonship can deploy your application to AWS. Moonship will auto-deploy the selected branch of your repository to AWS whenever you push a new commit to the repository.
Moonship uses fargate to deploy your applications to AWS. You can choose the size of each instance of your application. The default is 0.25 vCPU and 512 MB of memory. You can also choose the minimum and maximum number of instances of your application that you want to run. The default is 1. Moonship will automatically scale your application up and down based on the load.
Once you've filled out the form, click the "Create Application" button. You will be taken to the application dashboard. Here, you will see the status of your application. You can also see the URL of your application. You can click on the URL to open your application in a new tab.
Read more: Custom Domains